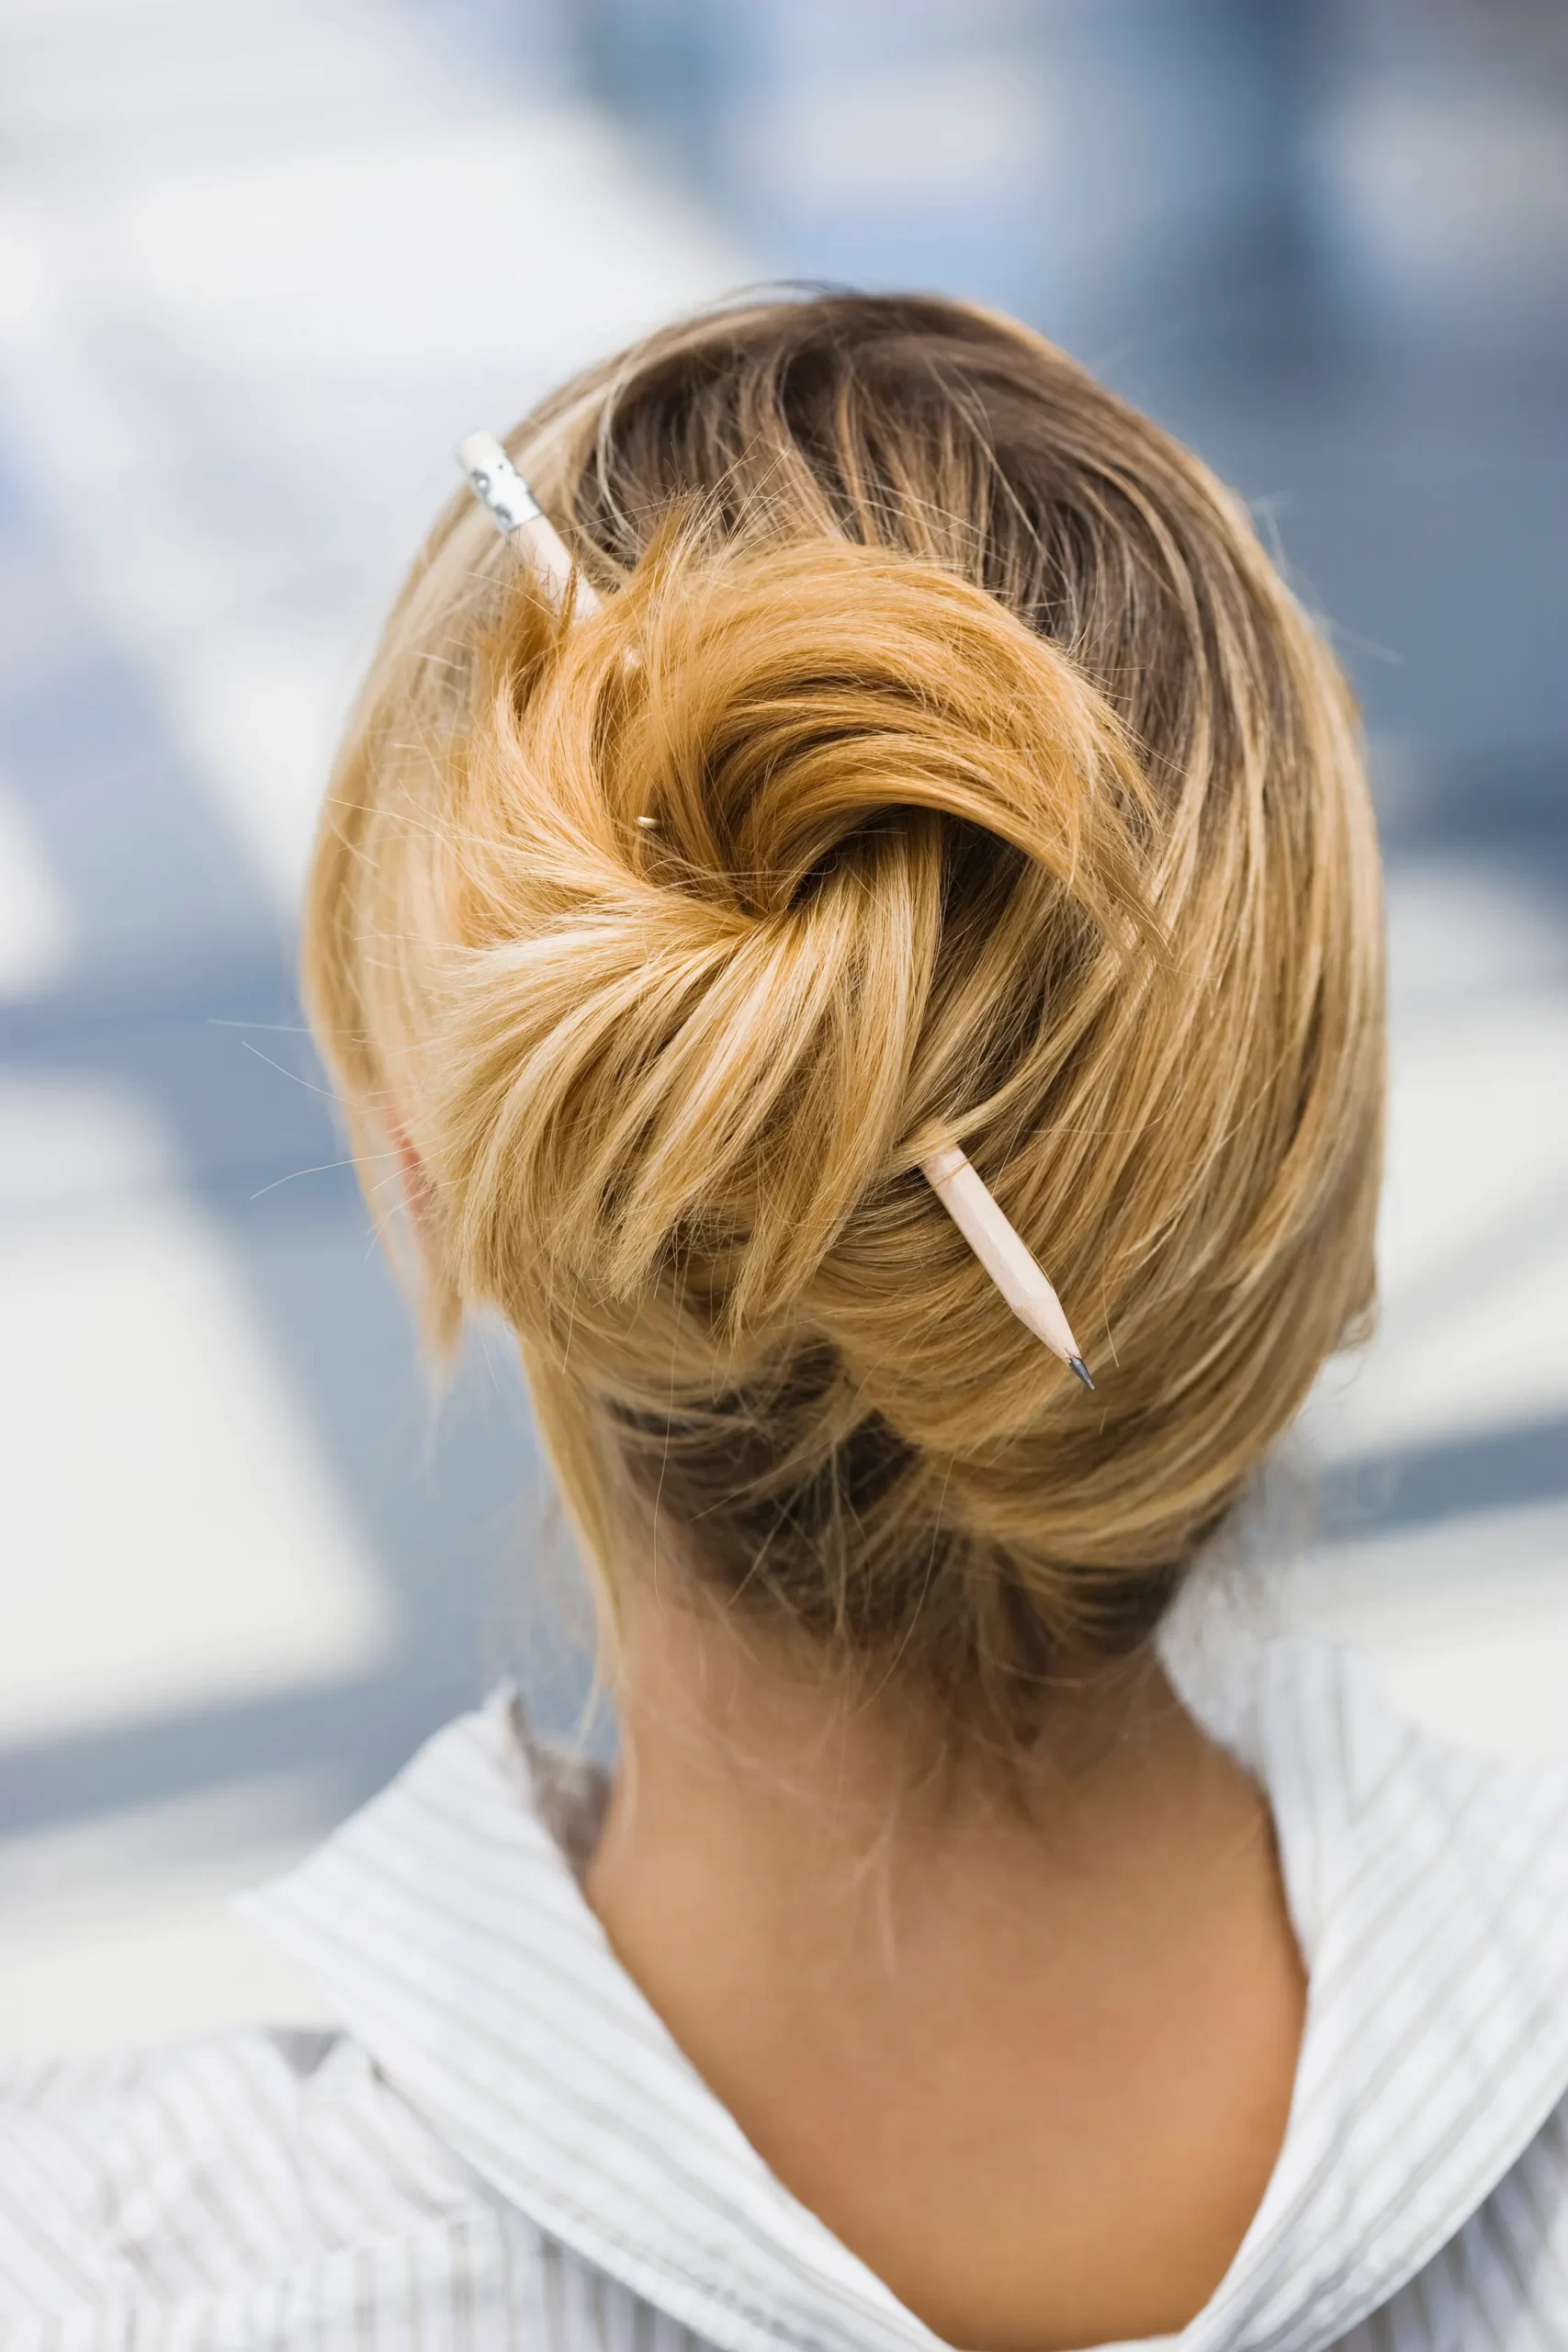
The French knot screams “effortlessly chic,” but perfecting it? Not always so effortless. Learning how to do a French knot hairstyle might take a little patience, but once you’ve got it down, the skill will serve you well.
A French knot is a sort of hybrid between a low ballerina bun and a French twist. Depending on how you style it, it can look loose and on-the-go, or sleek and formal. “The French knot is a timeless classic that never goes out of style,” Van Hong, pro stylist and cofounder of hair-tool maker Mint Tools, tells Glamour. “It’s elegant, versatile, and flattering on all face shapes.” Hong says that the real beauty of the French knot is that it’s simple and understated, but still feels elevated: “It lets the makeup, clothing, and overall styling shine while still making a refined statement.”
Below, Hong walks us through exactly how to execute the French knot hairstyle.
How to prep your hair for a French knot
You might think that technique is most important when styling a French knot, but Hong says that proper prep can make or break the hairstyle. “This style works best on clean, dry hair that’s been washed and blow-dried the night before,” he says. If you’re planning to wear a French knot, you might want to avoid heavy conditioners or oils beforehand, which can weigh the hair down or make it too slippery to hold.
“I recommend using a boar-bristle brush like the Mint Kaze Round Brush to smooth the cuticle, or the Mint Blow-Dryer Brush as a two-in-one styler,” Hong says. Using a flatiron would make the hair too smooth to work with; texture and volume are key for shaping and securing the knot, he notes. For an ideal base: “Prep with a volumizing spray before blow-drying, add a dry shampoo for extra grip, and finish with a flexible aerosol spray to lock in the style.”
How to do a French knot, step-by-step
Using both hands, gather your hair and pull it back to the nape of the neck, or where you want the knot to sit. “Hold it with one hand like a ponytail; don’t pull tight—you want some natural volume,” Hong says. If you’re a beginner, you might want to add an elastic here for extra hold.
With your free hand, twist the length of the ponytail outward and upward, away from your face. Keep the twist fairly tight, so it coils up easily.
Form the knot by looping the twisted ponytail up and around the base to create a knot or bun shape. Once you’ve wrapped the twisted hair all the way around, continue wrapping it in the same direction until you reach the end.
Tuck the end of your hair underneath the knot, using your thumb to push the inside of the bun toward the center. Feel around the knot for any loose ends, and tuck them under the shape you’ve formed. If you used an elastic earlier, you can tuck the ends over or under the hair tie for added hold.
Secure the knot with long bobby pins. Insert at least four pins into the knot—one at each quadrant—pushing them in so they cross at the base (forming an X shape). Place additional pins where the knot feels loose, hiding the pins inside of the bun.
Refine the shape. “Gently pull a few face framing pieces or loosen the knot slightly for a softer look if you want it more relaxed. For a formal look, smooth edges with a brush,” Hong says.
To ensure that your French knot will hold, hit it with a light mist of flexible-hold hairspray—“enough to lock the shape without making it stiff.”
Will a French knot work with my hair?
Hong says that a French knot will generally work with any hair type or texture, as long as it’s at least shoulder-length. “Medium to thick textures hold particularly well, but with the right prep and products, finer hair can also achieve the look,” he says. If your hair is naturally straight, adding some simple waves with a hot styling tool may make styling easier.
How to make a French knot last all day
If you’re struggling to form your French knot in a way that feels secure, Hong suggests adding more dry shampoo and lightly teasing the hair. “The biggest mistake is under-prepping the hair,” he says. “If the hair is too soft, silky, or straight, it becomes very difficult to mold. Always build texture before styling.”
The way that you secure the knot can also make a big difference when it comes to longevity. Don’t be afraid of going overboard with the bobby pins. They’ll be virtually in your final look, and inserting lots of pins from different angles will help keep your knot in place. While pins are Hong’s go-to tool for a sleek, formal French knot, “for a more relaxed or playful version, a decorative banana clip can also look chic,” he says.
To ensure that your knot won’t budge, don’t skip out on finishing sprays—but if you’ve followed Hong’s advice to this point, you’ve built a solid foundation. Whether you’re looking for a slightly more polished way to throw your hair up in the morning, or have a special occasion that demands a timeless updo, a little French knot practice will go a long way in your styling routine.
Featured Product
Blow Dryer Brush